Cedar storage box

OK, so this project is a lot like the elm hassock just posted. Dimensions are very similar (14" x 14" x 15" high), but instead of blind mitered dovetails it uses blind mitered box joints. Not sure that change saved me any time, but that was the hope. This box includes a lid with a raised panel that added some steps. It will not receive a finish.
Again the process started with an old cedar board salvaged from a closet in an old house. This one was clear 7/8" cedar about 16" wide and 60" long. A bit cupped, but far easier than the elm to flatten and thickness. It was sawn into 4 equal parts, squared, and labeled. The lid and bottom panels were from some 1/2" pine (I think) from the same closet - also 16" wide.
 |
| The 4 sides just prior to miter trimming. |
 |
| The lid was rip cut off after the miter trimming. |
 |
| Side piece, rabbet cutting with kiwa-kanna. |

Here are all the parts prior to assembly.

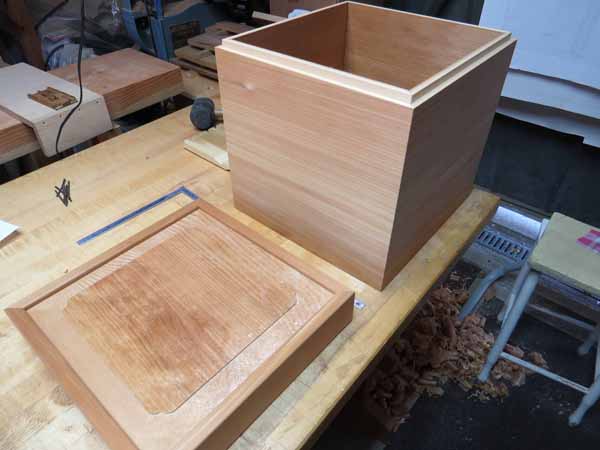
I made a small wooden triangle stamp and used it to mark the matching lid side and box side with aligned red triangle marks to help with lid fitting. I had marked the lid and side parts so they would not get mixed up. That kept the original pieces together so the grain (and dimensions, miters, etc) would match as intended.
 |
| Not easy to see the red alignment triangles in this pic. |


Comments