Take on a TV Tansu
 |
| Mizuya tansu style, before final sprayed lacquer finish. |
This was a piece I built recently from provided plans and for someone else's client. The wood is sapele "ribbon mahogany", either quarter sawn solid or veneered plywood. This piece is inspired by a mizuya tansu, but it is not constructed like the originals. It is a more modern build that incorporates all kinds of metal fasteners and Blum drawer slides. Eventually the cabinet was to have an electric TV lift installed into it. However, you could easily build this thing to suit your purposes. Of course I injected some mortise and tenon joinery into it to strengthen a few key areas in the frame.
I had not worked sapele before so there was a learning curve for how to plane it with a hand plane and not have a lot of tear-out. As mentioned elsewhere, I do not have a jointer, so all solid wood parts were straightened and flattened on one side with a Veritas bevel-up jointer plane.
The nugget of insight in this process is how to sharpen the plane iron. The thing that worked for me? Sharpen the blade at 50 degrees. This with the 12 degree Veritas low-angle bed give you 62 degrees - and you get a decent finish with minimal tear-out. You will need to sharpen frequently. I panned a lot of rocks and sand before I found that nugget on Reddit from an Aussie woodworker who works a lot of woods with interlocked grain. Cheers mate!
Since the cabinet is 6' wide, 40" tall, and 18" deep, it takes some planning to build it in a small shop like mine - about the size of a 1 car garage. All plywood cutting had to be completed before assembly began. Don't know about you, but I like to have actual dimensions from an assembled frame before I go filling in the openings with expensive plywoods. So there was a lot of material and equipment shuffling throughout the build process, which slowed it down a bit. We make due.
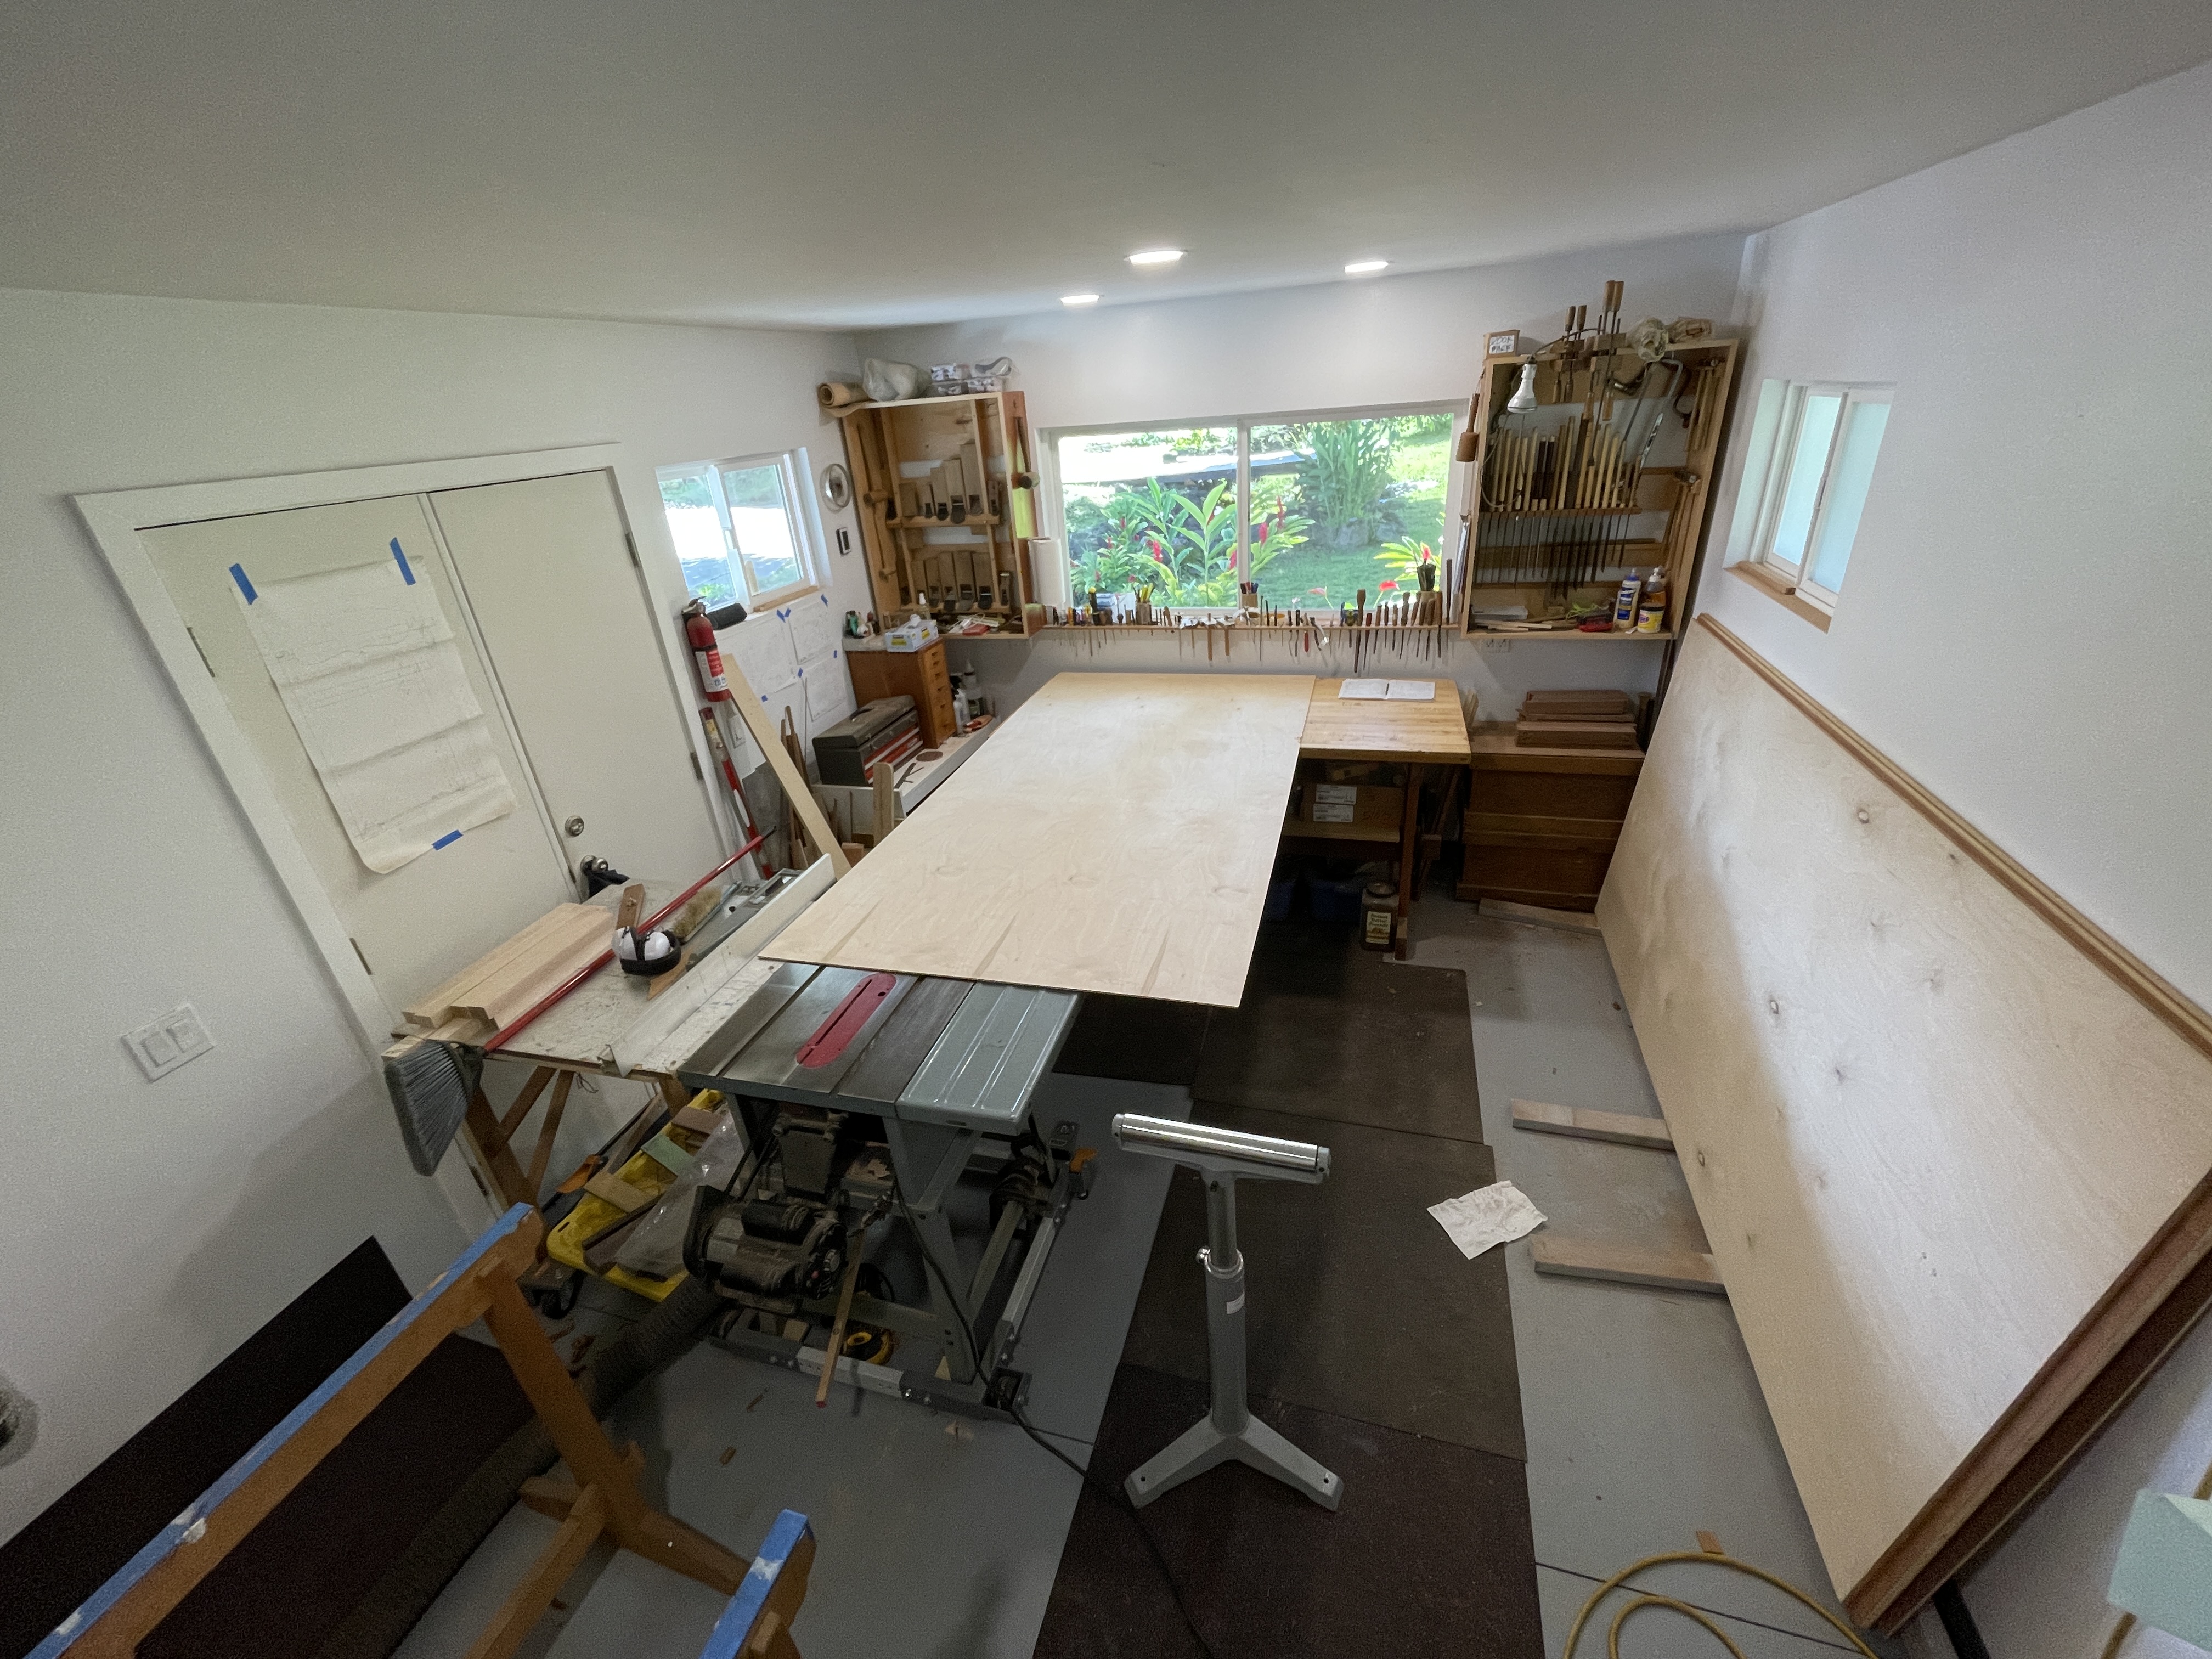
A picture is worth a thousand words.
The build called for a solid 3/4 sapele top (grooved), frame, door and end frames, and drawer fronts. 1/4" plywood was spec'd for the door and side panels, and 3/4 ply for the bottom and removable back panels (for equipment access). All that added up to a fairly hefty cabinet - another consideration when assembling it solo.


Ready for back panel fitting and drawer slides.

 |
| Close-up of end panel. |
https://cabinet-hardware.morikunijapan.com/


Comments