Long Shoji panel

This fixed shoji panel (right in above photo) is to inset into the frame of a clerestory window that gets too much California sun. The window frame is 8' wide by 18" tall. It needs to match the adjacent smaller panel (left) that I made previously (see this). To reflect that design I broke the long panel into 3 sections and used similar kumiko (grid) spacing.
Material for this project came from a single 12' 2"x 6" of clear decking-grade Port Orford cedar. It is important that the grain be as straight as you can get it for a long frame like this, but minor deviation from flat will be ok in this case because it will be anchored into the window frame at multiple points.
I laid out the rip cuts on paper first, making a full scale cross-section of the 2 x 6. Things worked out such that I could get all pieces out of the single board. The ripping was done on a table saw, then frame members and kumiko were planed square by hand.
 |
| Haunched tenons before trim and wedge cuts. |

All parts prior to assembly.
In my case, Kumiko planning takes place on paper once the true frame opening and kumiko dimensions are known. To get the consistent, accurate dimensions that are required I tried something new. I got the kumiko close to finished dimension by planing all simultaneously. Then I created an ad hoc thickness planer by clamping a kanna (smoothing plane) to my bench top with two spacer strips between the benchtop and the bottom of the kanna. By then pushing and pulling all kumiko through this setup I got all kumiko dimensioned within a few thousandths of an inch. Careful while pushing the kumiko through this setup. If the kumiko breaks while you are pushing on it, you could drive it into your hand. If you have no compunction about driving brads into your kanna dai, you can tack on the spacers and plane as usual. I can't recommend that but judging by the number of kanna dai with brad holes in them I'd say it was a common practice.

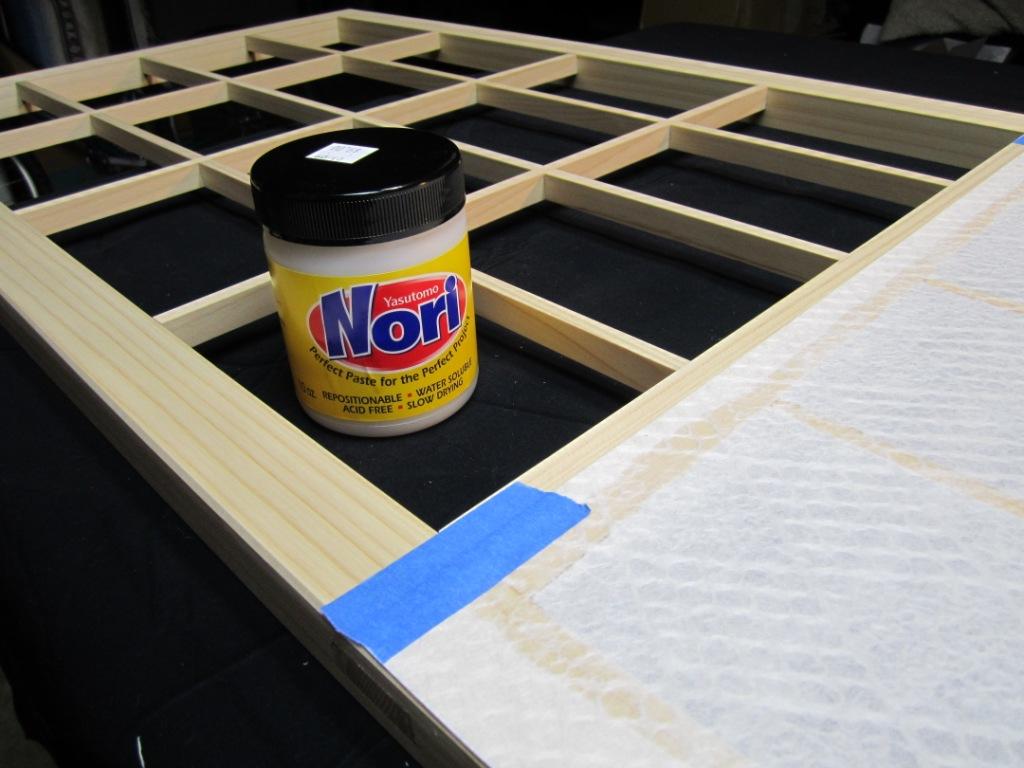
The paper came from Jay van Arsdale's inventory and matches the paper in the smaller shoji panel made previously. This paper was made in Japan in the 1950's and is beautiful in it's own right.

The glue I used comes from Hida Tool Co. and is easily thinned to brushing consistency by adding some water. I used easily removed masking tape to create a hinge. This helps with alignment and tension as you swing the paper onto the glue covered kumiko and frame. Since the paper has a pattern, care needed to be taken to ensure alignment of the pattern across the three panels - before applying any glue.